10 min read
Sharing and publishing your Coda docs
Take your collaboration skills to the next level by getting your team the doc they need in the way they need it.

What's in here.

What you’ll get
- An understanding of sharing v. publishing
- Best practices for how to organize your workspace

What you’ll use
- Sharing
- Publishing
- Folders
- Workspace
1. Understanding sharing vs. publishing.
Sharing.
Sharing is all about controlling access to your whole doc and the information in it. You can grant access through different mechanisms:- Individual Coda users (specify email addresses)
- Location of your doc (folder/workspace) — share with everyone who has access to the folder or workspace
- Groups
- Email domains
- Global aka “Anyone with the link”
- View
- Comment
- Edit
What if you have access to a doc through multiple mechanisms?
The most permissive setting “wins”. Example: a doc is shared view only to your whole workspace AND shared directly with you with editing permissions. You will be able to edit.Publishing.
Publishing is about beautifying your doc for a wider audience. It creates a ‘cleaner’ URL (like coda.io/@profilename/docname) that displays a more polished version of your doc when you navigate to it. There are lots of publishing-specific settings, including the ability to publish to a custom domain (kristenswebsite.com/blog vs. coda.io/@kristen/myblog) and the ability for your published doc to be searchable in Google (more on that later ⏲️). You can choose for the doc to be displayed in view/play/edit mode. This applies to anyone who visits the published link. Note that the sharing access is stacked on top of the view/play/edit mode so that the most restrictive display setting “wins”. If you have edit access to a doc whose published version is set to “view”, you will not be able to edit the published version.2. Clarifying discoverability.
When you go through the publishing flow of a doc with Discoverability = on, you invite the flow to update the public sharing settings (anyone with the link) to “Can view”. Note that you can then go and update Anyone with the link to “No access” or whatever other sharing settings you desire! The settings are still independent. It’s purely the act of turning Discoverability from off to on that will trigger Anyone with the link to “Can view” if it has not already been granted. To avoid sharing settings being changed automatically like that, you can always turn off Discoverability before creating a published URL under Audience and interaction publishing settings.3. Sharing with folders.
One of the sharing mechanisms mentioned above is sharing through the “location of your doc” — aka storing it in a folder that’s shared with other users. Sharing using public and private folders allows for doc organization and appropriate sharing at the same time. Note: You cannot share your My docs folder.Public folders.
These let you share your doc with everyone in your workspace, and it also gives somewhere for the doc to “live” so it can be found and easily accessed by others.Private folders.
These allow for a specific set of workspace members to have edit access to docs in the given folder. Note: you can’t grant “view only” access to private folder members; it’s “edit” or nothing to all docs in the folder. If they’re a doc maker in the workspace, they’ll be able to create and pin docs in that folder as well.The power of folder organization.
Folders are a great way to create a lightweight landing page of resources for your team.
Sharing folders with groups.
You can share folders with groups of users, if an Enterprise admin has set up groups in Coda 🤩. This is an awesome way to ensure that new members to the team automatically join relevant folders and can see the list easily in their sidebar!
Adding a doc to a folder.
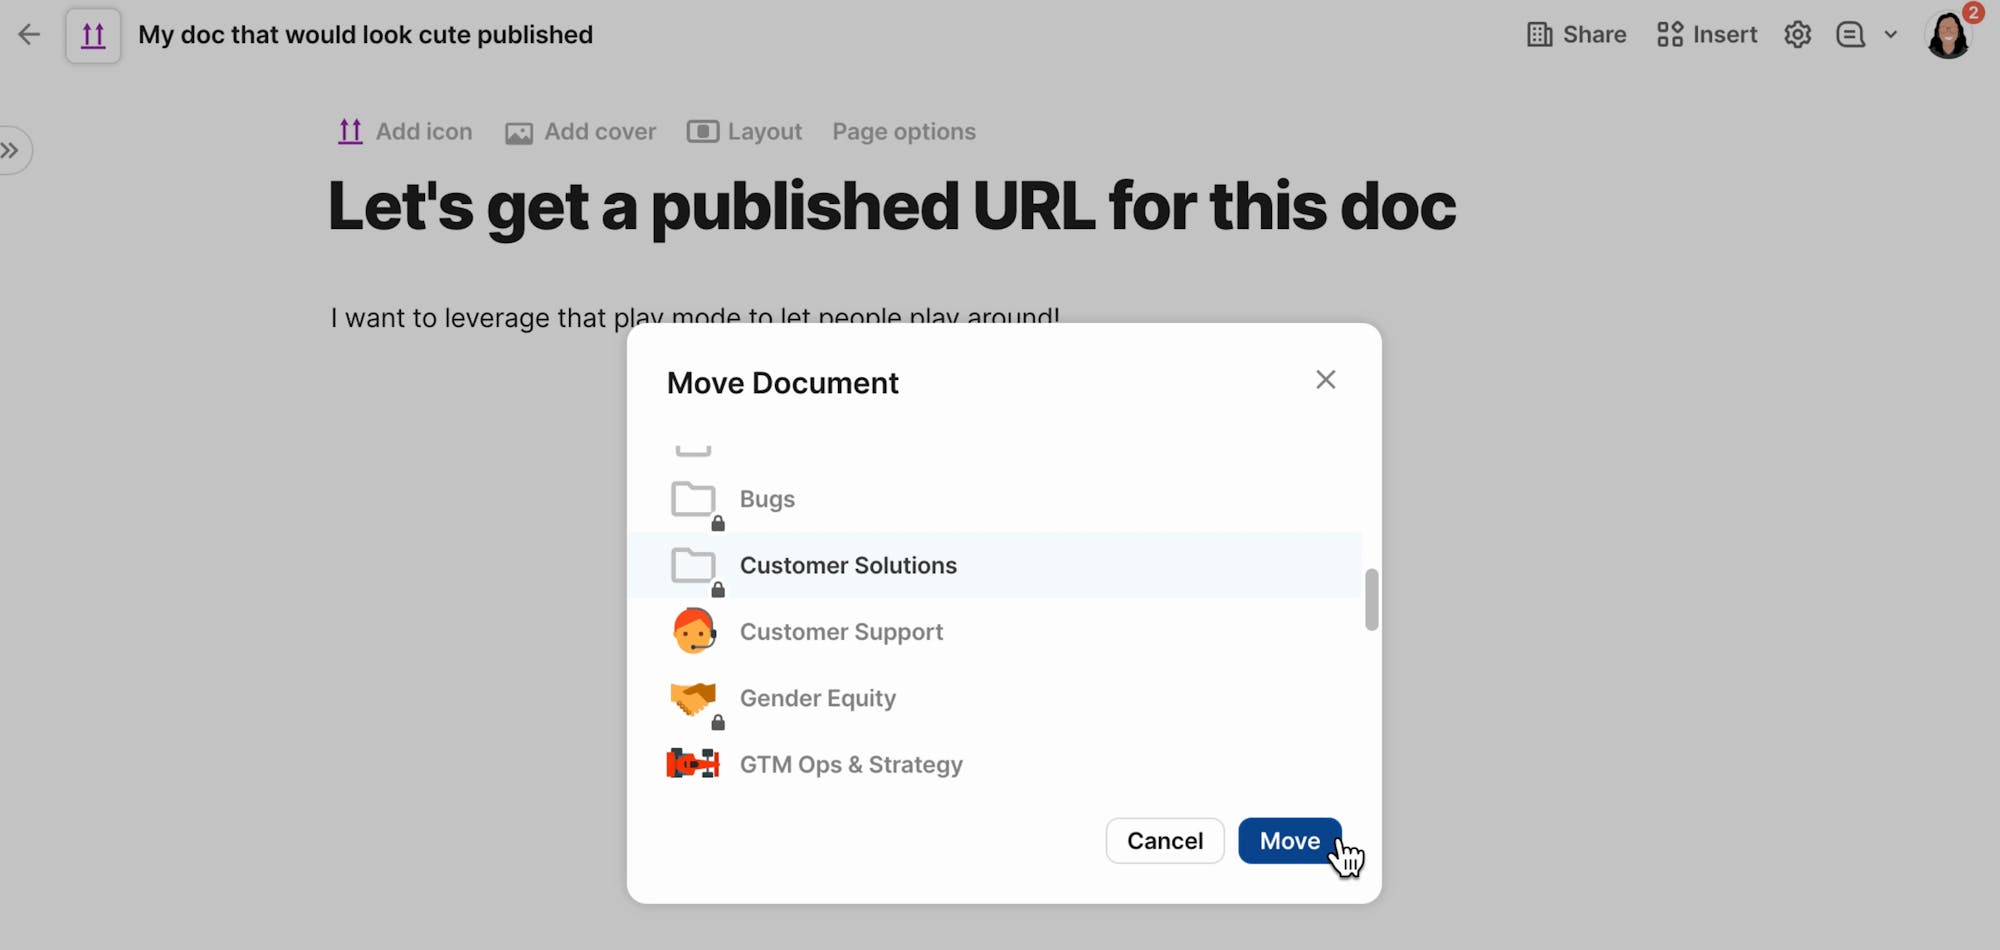
You can create a doc directly from a folder to save it in that folder.
Bonus: doc locking.
Doc locking does not affect any doc-level sharing mechanisms we’ve mentioned so far. It does, however, impact the “level” of access people who interact with your doc have — specifically, you can lock down a single page, multiple pages, or a whole doc to “view only” even if everyone has edit access to the doc through sharing settings. To make doc locking actually lock down access, you’d need to limit “unlocking” to only Doc admins, defined in the Locking panel under the Unlocking tab. Bringing back a concept from before, the most restrictive setting always “wins”. So if your doc is editable to everyone, it will be restrictive if you apply strict locking settings on all the pages and they won’t be able to edit. One more note about doc locking; it’s not foolproof, so do not use it for extra-strength security. As a very basic example, if one page with a table is locked down to be edited doc admins only, there could be a view of that same table on another page that isn’t locked down. It’s safest to grant “view” access to the doc through sharing settings if you know you don’t want someone to have edit access to your doc.
Now what?
Phew! 😅 That was a lot! Now you have all the skills you need to share efficiently with your team. Share information securely with view only sharing or open docs up for full-on collaboration with edit mode. Have doc that would look great publish?! Share it out to the world, or just your workspace. Wondering where to take your next level sharing skills check out these guides:Was this helpful?
YesNo


