15 min read
Four ways to run meetings using Coda
Coda's flexible surface allows you to apply different schemas and patterns to your meeting doc. Choosing the right pattern can create the organization and interactions that your team is looking for.
The problem with most meeting note systems.
Meetings are the heartbeat of a company. Running an effective meeting starts with clear agenda, goals and notes. So many meetings are poorly run — no clear agenda, derailed discussion and notes without clear action items and owners. Most teams run meetings out of a forever scrolling google doc, or many disparate docs, which creates three problems with meetings:- Undiscoverable: The link can be hard to find, because it’s disconnected from other work or notes.
- Inefficient use of time: Meetings often lack structure or don’t focus on important decisions or questions.
- Inclusion: The most senior person or the loudest often controls the meeting. Others don’t have ways to contribute topics, voice their concerns, and be heard.
Run your meetings more efficiently with Coda.
With Coda, you have everything you need to design a more efficient meeting system for you and your team. The flexibility of Coda’s building blocks enable you can create a meeting doc in a few different ways. You can use tables to organize your meetings, or you can take notes in a free form on the canvas. You can create a single row in your table for each date, or for each topic. You can create ways for the team to add and vote on the agenda, or you can create a repeatable format for meetings. Here are a few key building blocks you can use when building your meeting doc:- Tables and doc search make it easy to organize and find your notes.
- Reactions and buttons make it easy to for anyone to contribute to adding to and voting on the agenda.
- Column types in tables make it easy to organize notes and meetings how you see fit - by date, topic, etc.

What you’ll get in this guide:
- An introduction to different meeting systems.
- A framework for deciding which meeting system is right for you and your team.

Features you’ll use in this guide:
- Tables
- Reactions and buttons
- Doc search
A quick guide to choosing which meeting pattern is right for you.
- If you want attendees to add and upvote discussion topics → Pattern 1: One row per topic
- If you have a lot of meetings want to organize all your notes → Pattern 2: One row per meeting
- If you have a low volume of meetings and want a more freeform canvas (great if you’re just coming to Coda from Google Docs) → Pattern 3: One page per meeting
- If you want all your notes on a single page in a quick scratchpad → Pattern 4: One big page.
1. (Recommended) Table with one row per topic.
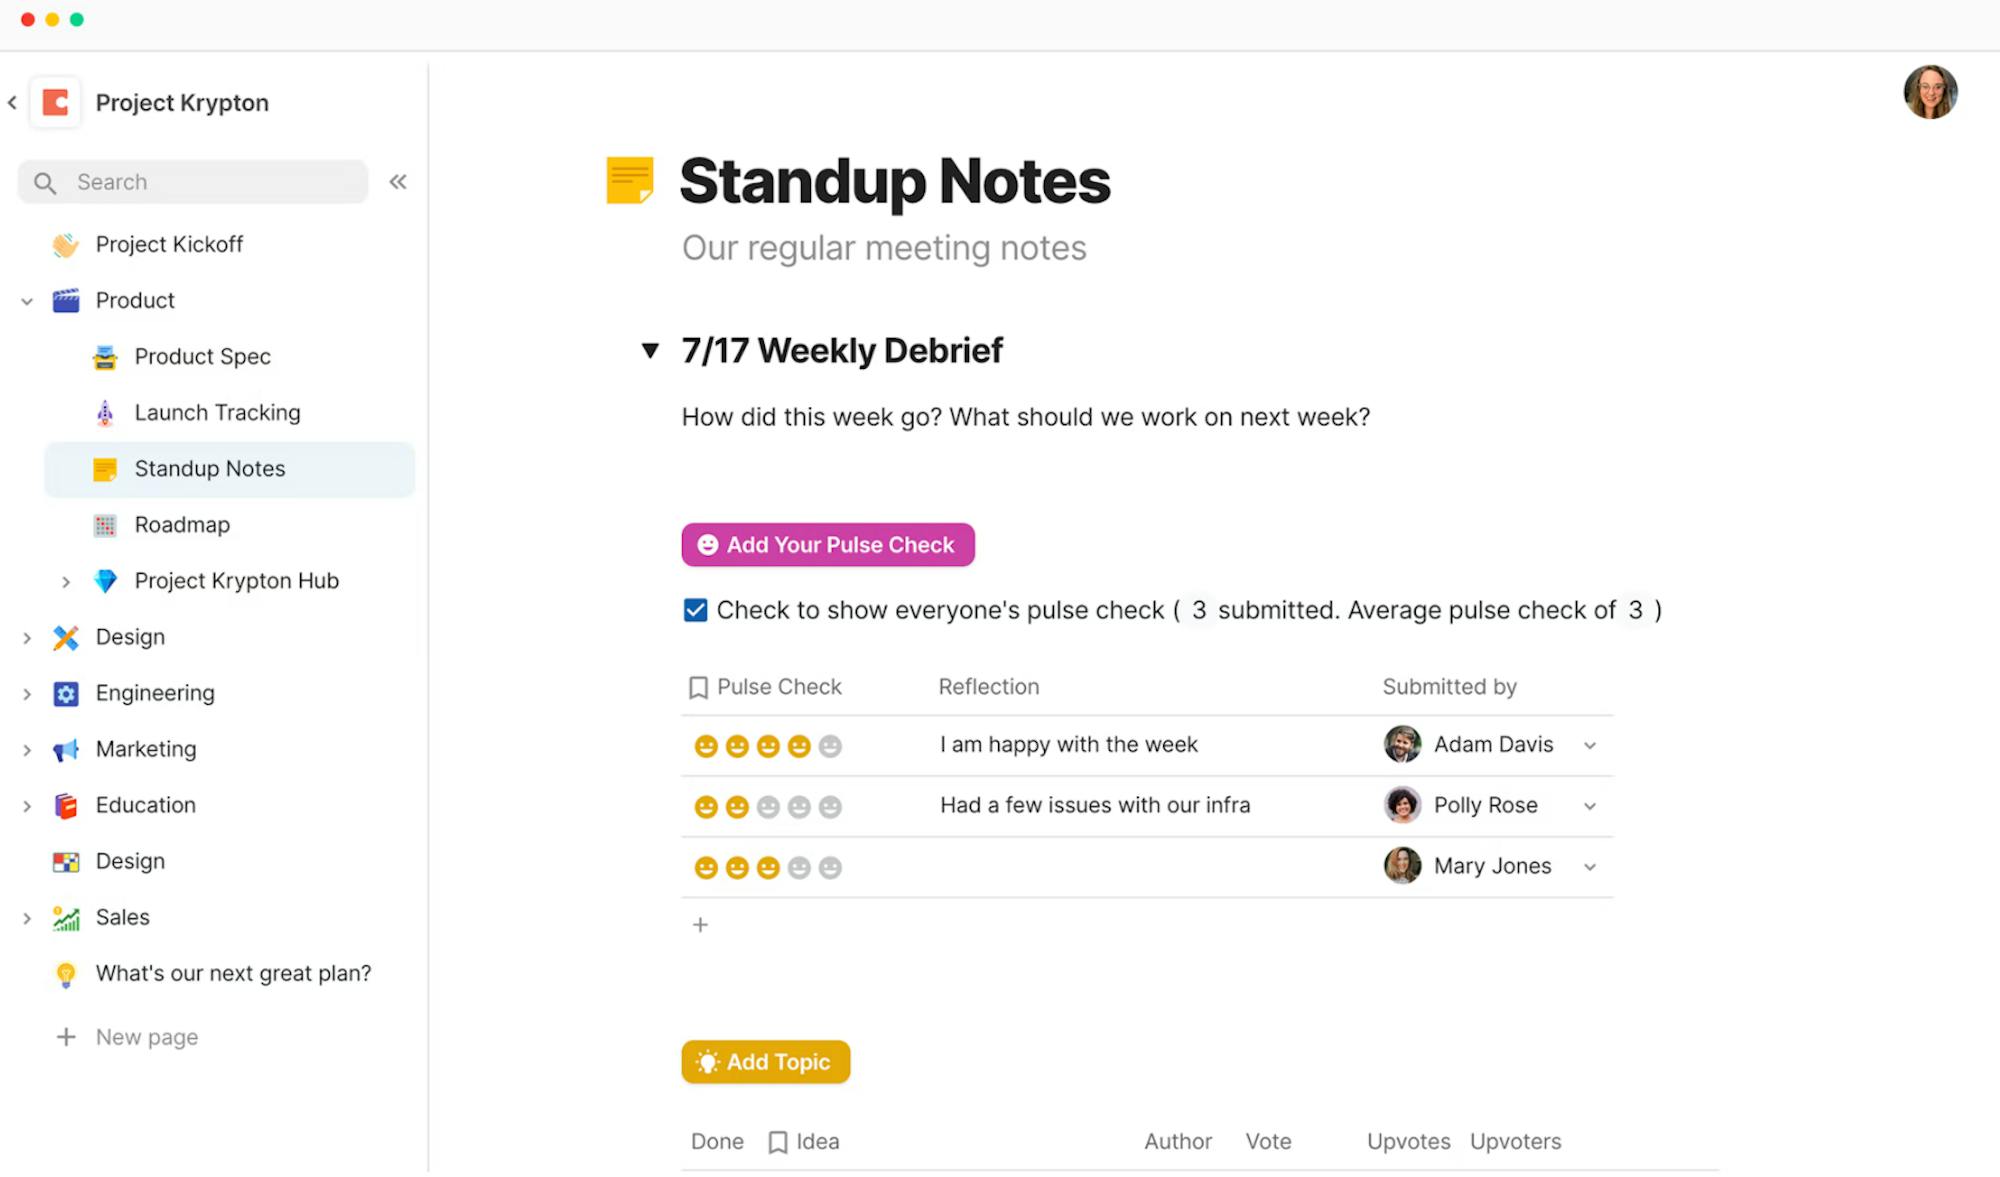
This first pattern, one row per topic, is a great choice for running meetings where you want meeting attendees to add and upvote discussion topics, like team meetings or executive staff meetings. With this pattern, you’ll create a table and add a row for each topic that you want to cover. A canvas column will make it so that the notes for each topic lives right in the same row making it easy to find notes. Reactions make it easy for team members to vote on which topics to cover. This structure sets expectations about what is going to be covered in a meeting, and creates a forum for anyone to contribute to the agenda. You can also add in voting and then sort by voting so that everyone feels heard in deciding what’s discussed. It also helps create structure with meeting notes that makes it easy find and reference notes. You can search the doc by topic and the notes for that topic will be right alongside that agenda item. Once you’ve built this out, it might look something like this:
- Create a new table using the slash command and type "/table" into your doc and then select blank table.
- Change the column types by right-clicking the top of the column, clicking Column type (the top option in the menu), and then selecting the type of column you want to change to. For the meeting table, you’ll want to add a Text column for reflection, a People or Text column to note who added the topic, Reaction columns to vote, and a Canvas or Text column to take notes.
- Sort your table by right-clicking the top of the column, select sort, and then choosing descending.
- Add a button to add a topic by using the slash command to add an add row button. Type "/Add row" and then click on Add row which will be at the top of the slash command results. The settings for the button will automatically open and you can then select the table to add a row to (if the settings close just right-click the button to access the settings). Under the table section of the button settings click on the dropdown and the select the name of your meeting notes table. You can change other settings like the color, icon, or label on the button from here as well.
2. A table with one row per meeting date.
This second pattern is similar to the pattern above but centers your meetings around the date instead of topics. With this pattern, you’ll create a table with one row per meeting date, and then all of the notes for that meeting date will live within that row in the canvas column.This is a great solution if you have a high volume of meetings, and you’re optimizing for taking notes in a tidy, organized way. This pattern will also help in making your teams notes easier to take, search, and reference. Here’s an example of what a meeting doc using this pattern might look like: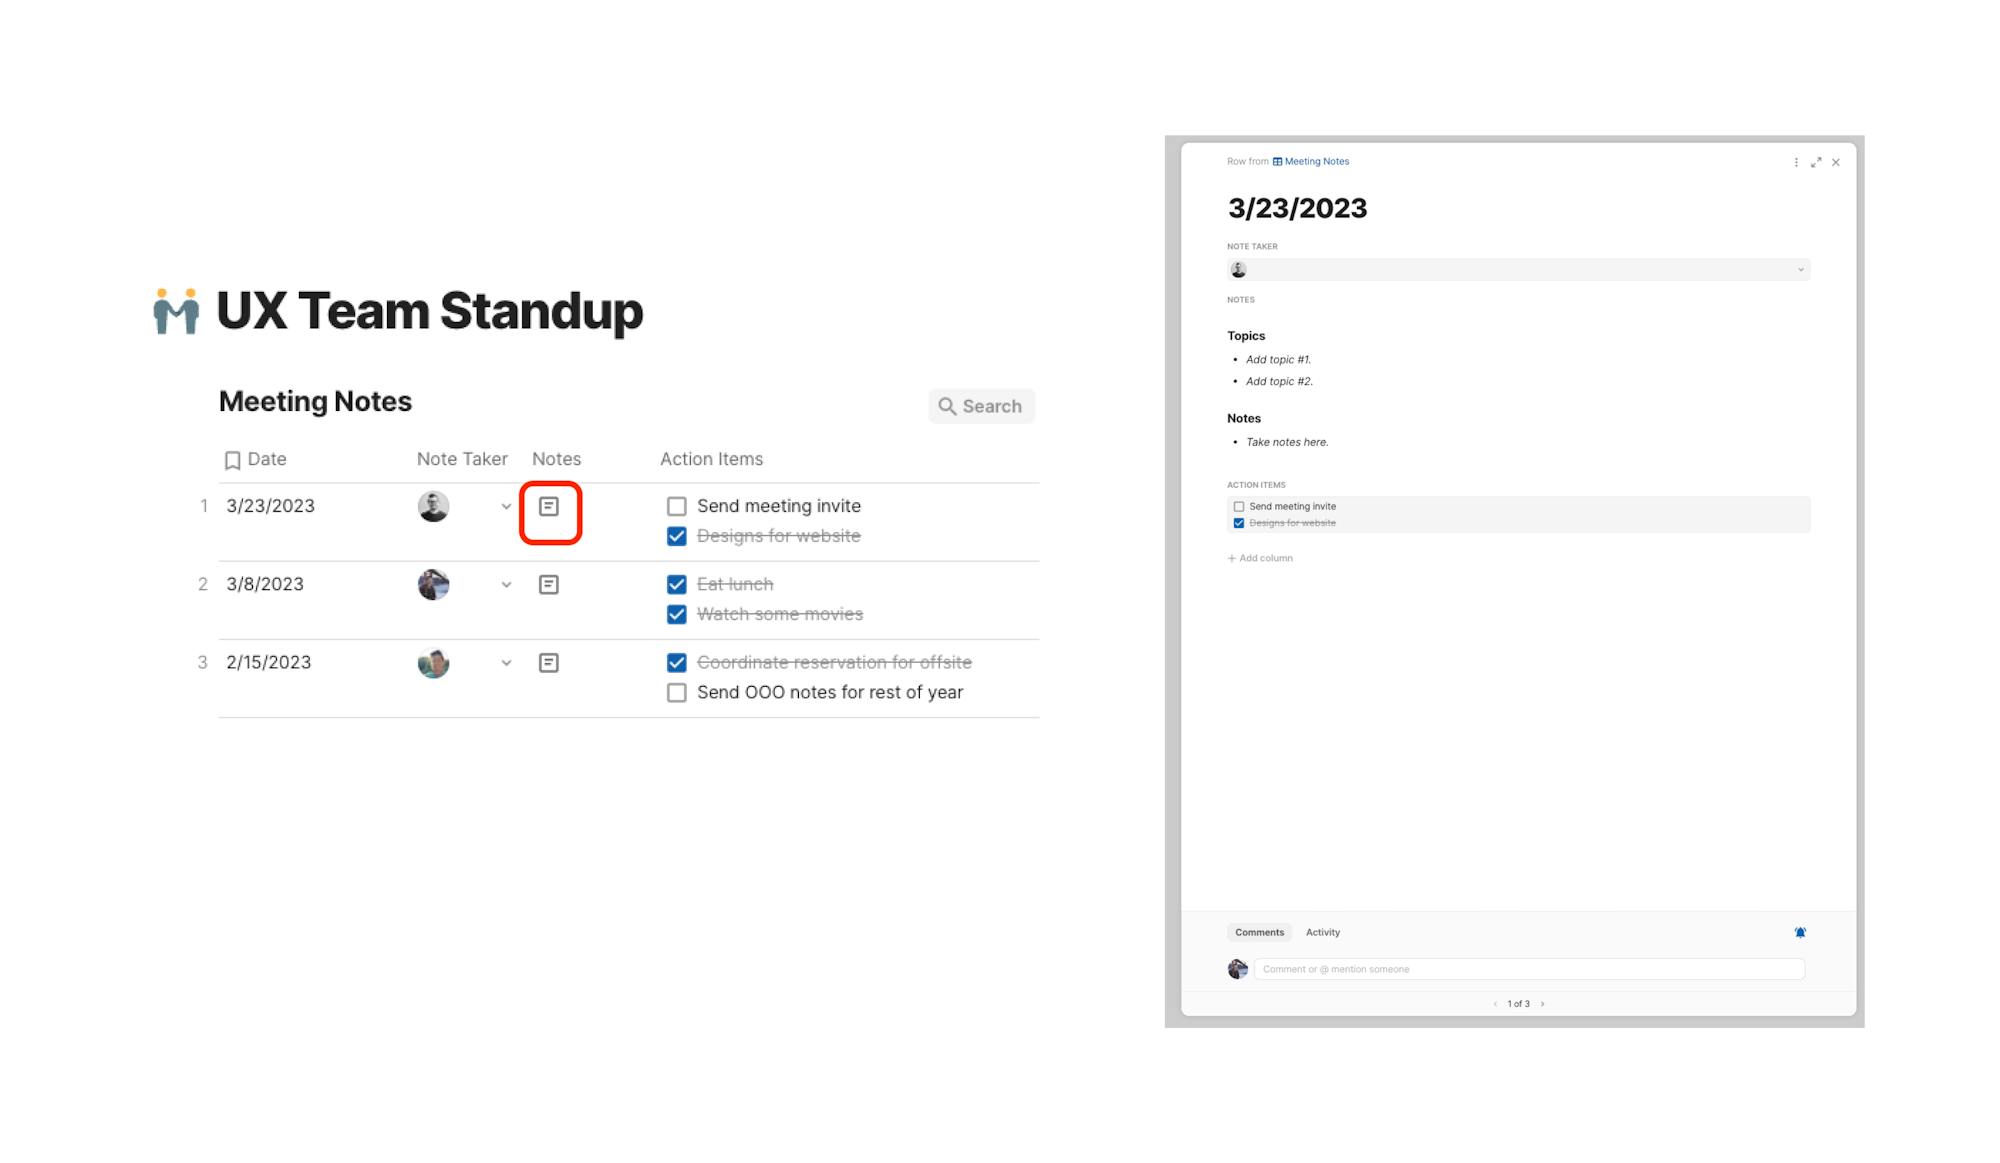
- Create your table and add columns by following the instructions above, create a new table and add the columns that you’ll need to run your meeting. You’ll need date and canvas columns at a minimum and a people or text column can also be helpful.
- Add a checklist column for action items like shown above. Add a Text column then click into that column and use the slash command to add a checklist but typing "/checklist" and then selecting checklist from the menu.
- Use the canvas column for notes by opening the canvas column by clicking the icon within the row. This will open that cell like a page to make it easy to take notes for that meeting date.
3. One page per meeting.
If you’re looking for a way to centralize all your meeting notes into one place, but don’t necessarily need the structure of a table, then option three could be great for you. This setup can help you move scattered notes into one single place. With this pattern, you are going to separate the notes for each meeting into a different page, all within the same doc. A new page will get added for each meeting, and you can even create a template for your team to use for each new page.This is a great option for less frequent meetings with unstructured discussions. This is also a great solution for taking personal notes or journaling where you have a single entry per day.- Add a page for each meeting by going in the left-hand doc navigation and click + Add page to create a new page.
- Choose an icon and title for each page by clicking left of the title and then searching for an icon that suits you. You can also title your page the name of the meeting or the date to make it easy to find.
- Try searching across all your pages by using the Search feature in the upper left-hand corner of the screen will search across all of the contents of your doc making it easy to find your notes.
- Create navigation by nesting each meeting page underneath your table of contents page. After doing this click Page options located right above the page title, click the slider next to Subpages, and then you can select the size of the subpage icons by clicking the three-dot menu to the left of the subpage icons now at the top of your table of contents page.
4. One big page.
The one-big page pattern is a great solution if you are looking for a simple, familiar way to run meetings and take notes. We most often see this pattern work well with something like a 1:1 doc. We recommend using collapse lists to condense information, multicolumn to put content like images right next to notes, and checklists to log action items right in your meeting notes.
- Add headers/sections by using the slash command by typing "/H1" to add a large header. In this example, each header is the date of a meeting, but this could also be the name of a meeting.
- Make collapsable headers by clicking the three-dot menu to the left of the header and then select Collapse content. This will make it so that any content smaller than your H1 header will be collapsed under it.
Bonus option: Creating a doc for meeting coordination.
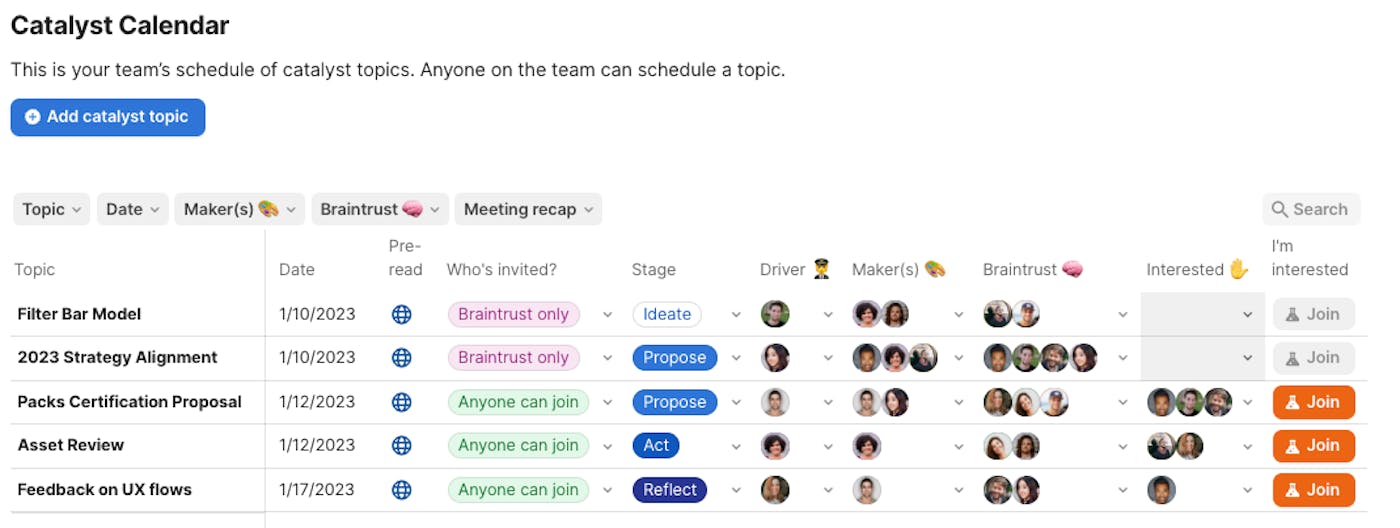
You can also use Coda to build more complex meeting facilitation processes. Each company has specific nuances to how they run meetings and public forums and with Coda you can make this facilitation feel like using a custom app. At Coda we have a forum where there are optional topics and you want the whole company to be able to see what topics are planned and opt in if they want. We call this meeting a catalyst and you can find a link to a template of how we run this type of meeting from a Coda doc below.What's next?
Now that you have seen all of the options to build your meeting system in Coda, you can get started building using the directions above or pick out a template from our Gallery. Don’t worry if the first pattern that you try isn’t right for you, Coda’s flexible surface makes it easy to redesign your Coda doc. You can also think of these patterns as starting places for you where you can add-on any other blocks or features you need to make it just right for your team. Happy building!Was this helpful?
YesNo


